
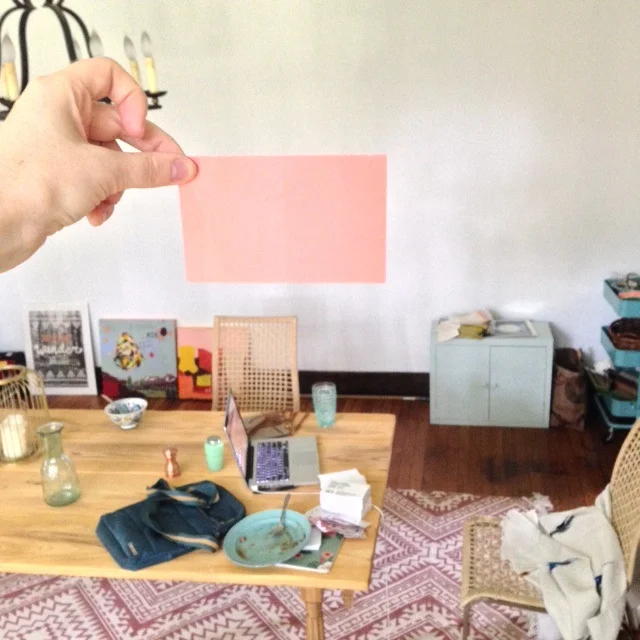
In my dining room lives a sad wall. It's sad because it's windowless, goes on for days, and is screaming for attention. Currently it is stark white and has nothing on it but that's all about to change. If you follow us on facebook or instagram you know what I'm talking about.
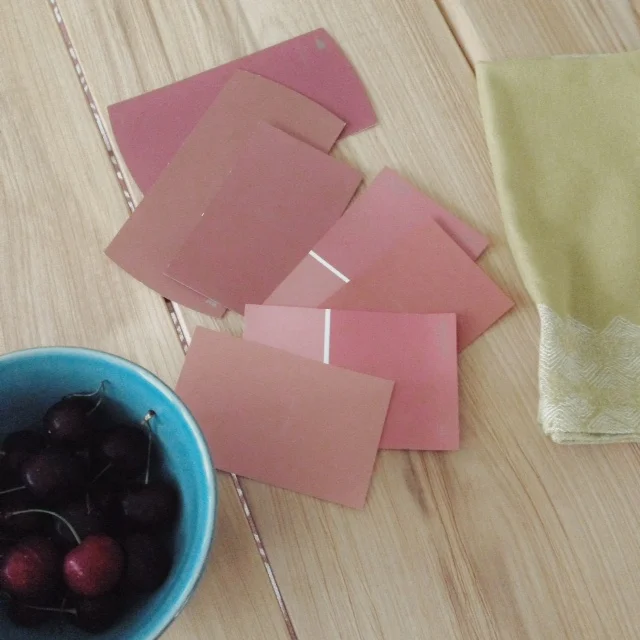
I came home from Home Depot with approximately 4,000 paint color cards and finally landed on one over the weekend. The ol' sad wall is getting a coat of Behr's Vintage Coral Paint from their Marquee Odyssey Collection. The lighting in the two pictures is kind of wonky but the one I picked is the bottom option in the first picture.
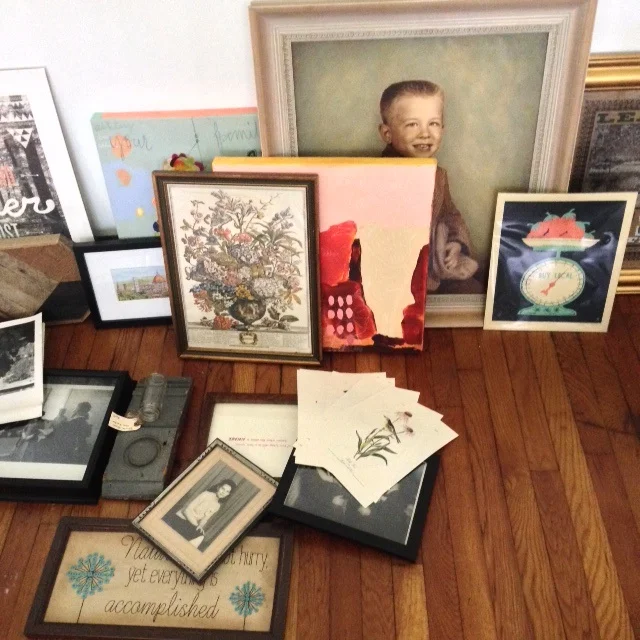
But that's not all. I have big plans for this wall. It's going to be adorned with an array of art. If you have never installed a gallery wall it's pretty simple. Follow these steps to create one of your own.
1. Search your house, garage, parents attic, thrift stores etc and collect a group of wall hangings. Think outside of the box and get varying shapes, sizes, frames, etc. Consider hanging actual objects as part of this gallery as well. Don't be afraid to mix wood frames with metal etc. Some people prefer a color theme but it's not necessary.
2. Gallery Walls work best at eye level. You don't want things too high or too low. If your wall is shared by furniture, make sure you leave several inches between the top of the furniture piece and the bottom of your lowest hung art. You don't want your gallery to look crammed onto the wall. Smaller pieces need to be hung lower or at eye level while your larger pieces can be hung higher.
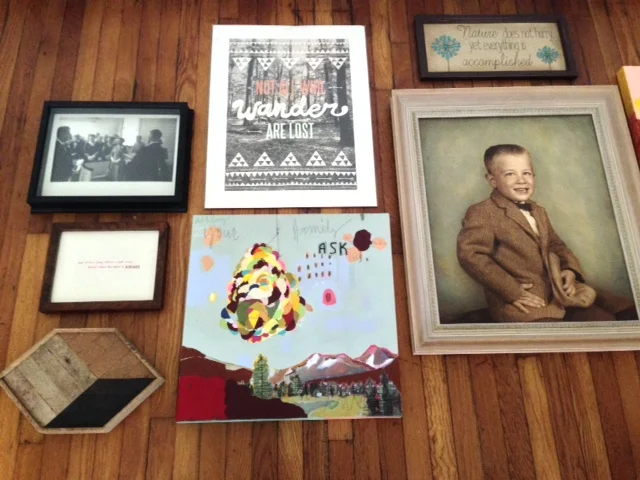
3. Arrange all of your art on the floor in front of your wall to figure out the order and spacing before you hang. Don't get too hung up on perfectly re-creating your floor arrangement but use it as a guide. I usually snap a picture of the arrangement on the floor just to refer back to as I'm hanging.
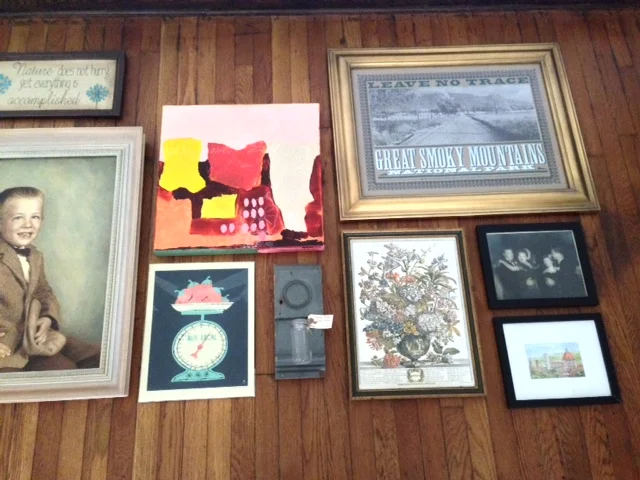
4. This will make some people cringe but I hardly ever measure before hanging things. If you are fine with a few imperfections I highly recommend eyeballing it. It helps if you have someone helping you so you can have them hold each piece up while you step back and evaluate before nailing it in.
5. Hang the big stuff first. Smaller pictures or paintings can be moved around more easily. The larger pieces will inform the whole collage.
6. Step back and enjoy your work and the awesome art you have collected and can now display in your home.